Photoshop CS4
Project 1: Layers
Original Robot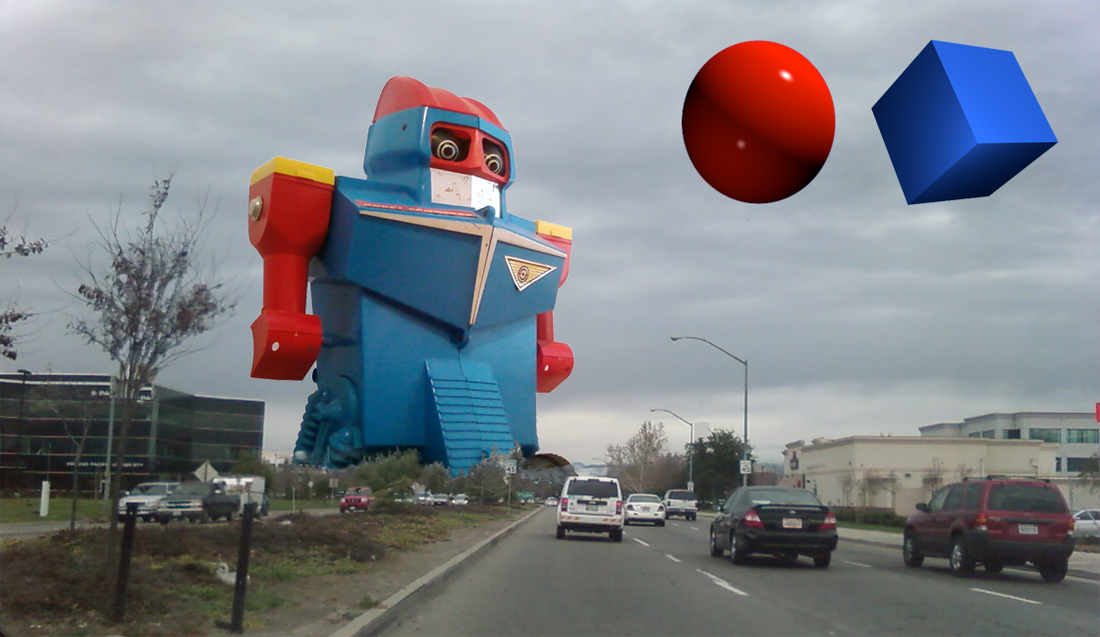
|
Modified Robot
|
I used the layers tool and the move tool to move the position of the sphere and the cube. I moved the sphere from the right to the left and then dragged its position in the layering system from front to the layer after the background. Then I moved the sphere in to the robot and positioned it to be the front layer of the picture.
Project 2: Layers and Masking
Original Flag Bearer
|
Modified Flag Bearer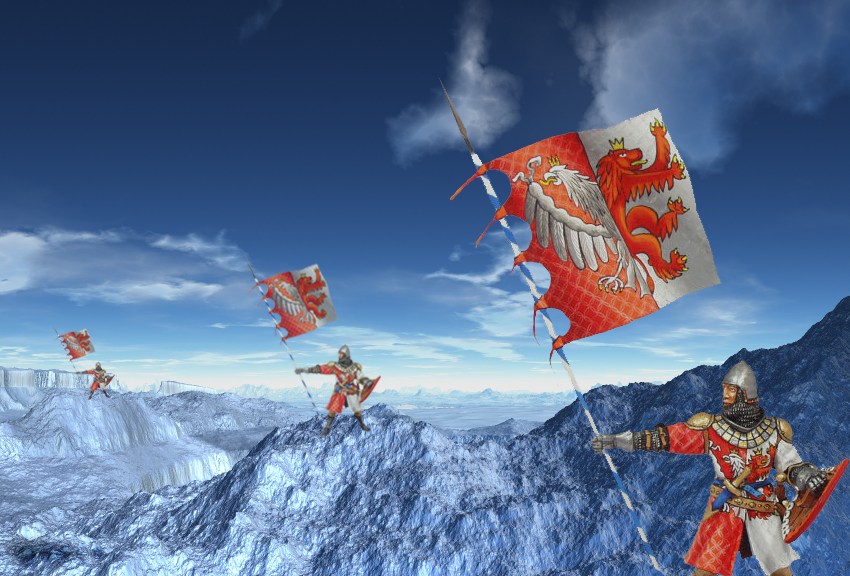
|
I put the original flag bearer into the mountain background three times. I used the magic wand tool to isolate the flag bearer from his original blue background. Then I dragged him into the picture with the move tool. I did this for each of the three flag bearers in the picture. Then, I used the hand tool and the picture box to make each flag bearer smaller than the first. Lastly, I put all three of them on the mountain.
Project 3: Removing Unwanted Objects
Original Empire State Building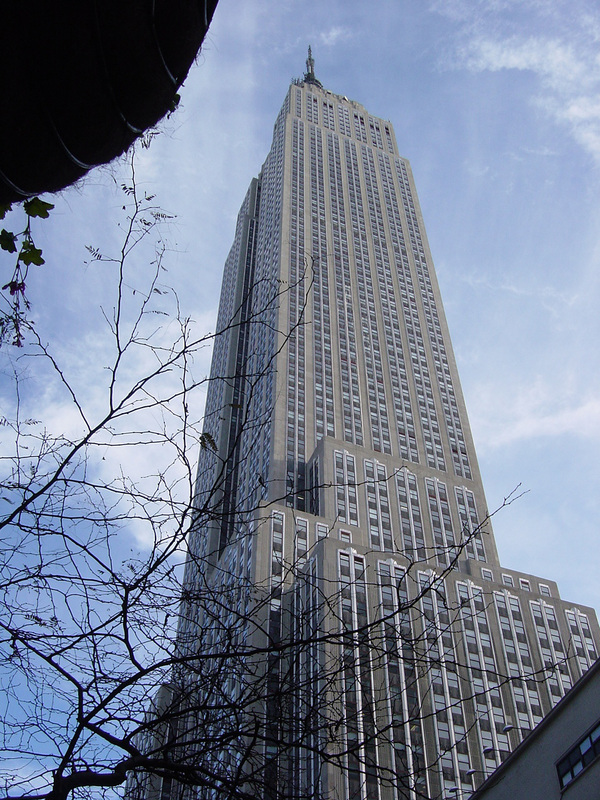
|
Modified Empire State Building
|
I took out the black splotch in the original picture of the Empire State Building by using the clone stamp tool. I took pieces of the sky from another part of the picture and copied it onto the black spot. Then, I changed its opacity and made the artificial sky blend in with the real sky in the picture.
Project 4: Level and Color Adjustment
Original Granada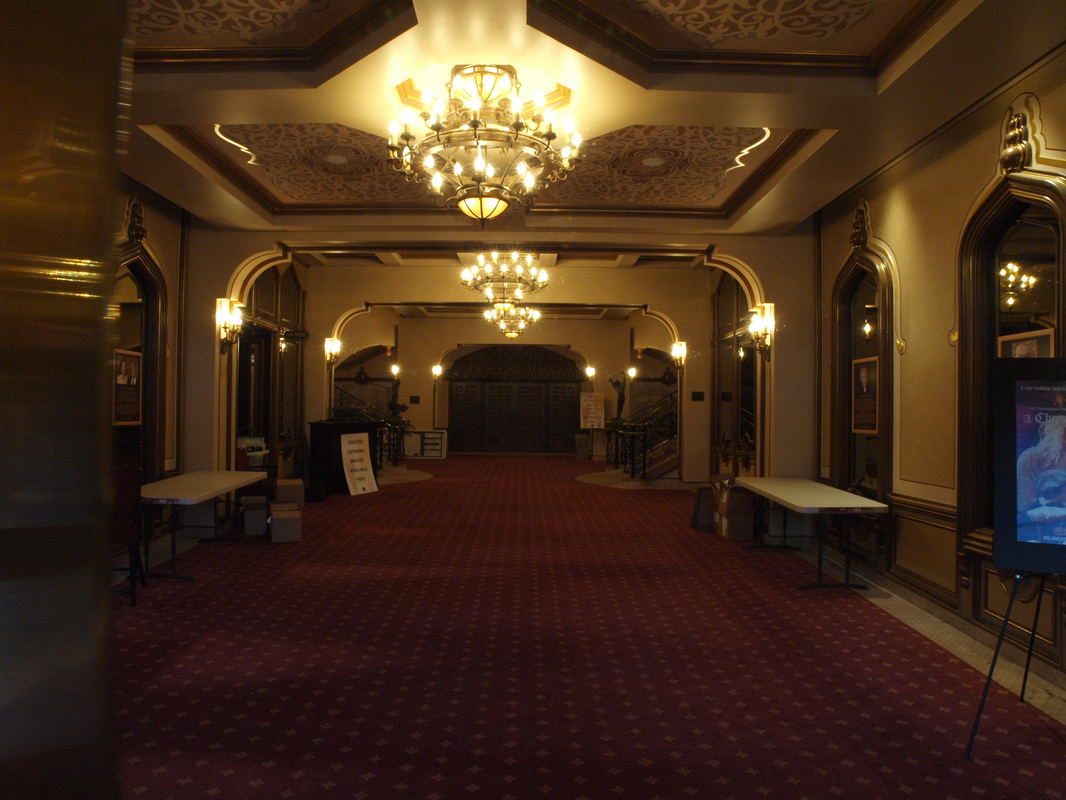
|
Modified Granada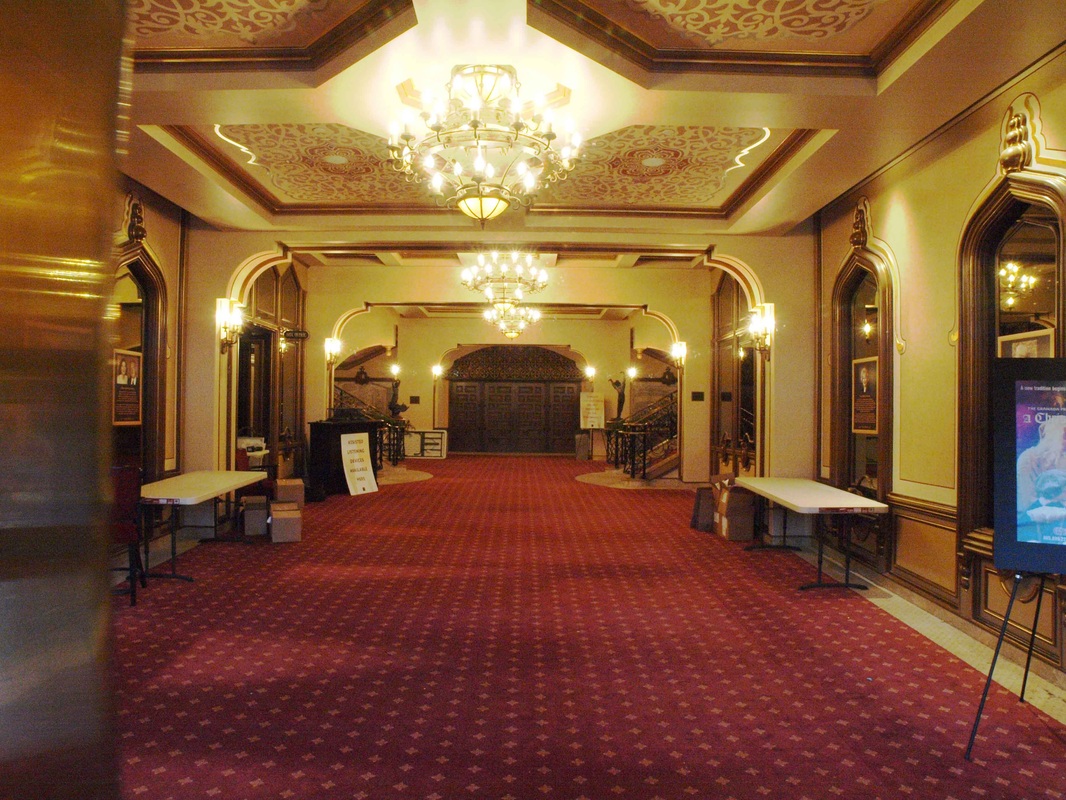
|
I changed the lighting of this picture by using the curves tool to change the lighting of the picture. I adjusted the lighting levels by moving the curve up and down until the picture was not too dark, but not extremely bright to get the modified picture.
Project 5: Photo Restoration
Original Picture of Two Girls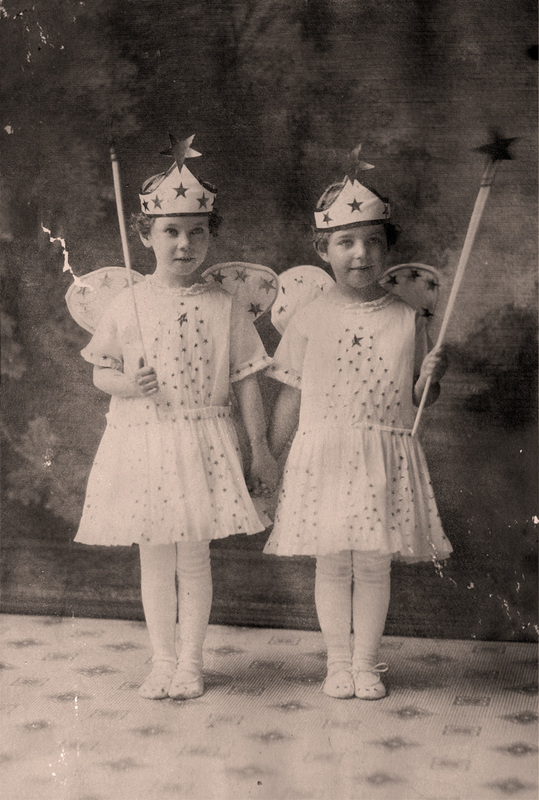
|
Modified Picture of Two Girls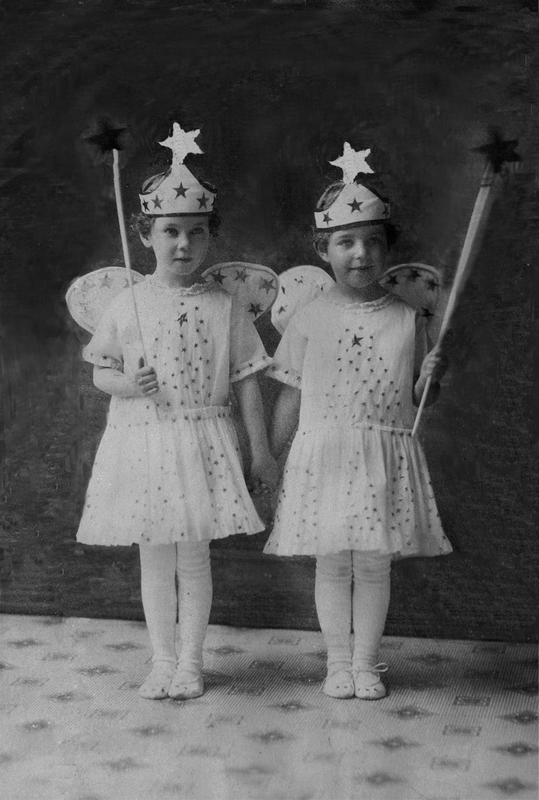
|
I restored the picture of the girls on the left. First, I made the picture black and white by changing its image mode to grayscale. Then I used the spot healing brush tool, and the clone stamp tool to patch up the scratches in the picture and to make the picture look new and improved.
