Quarter 4 Projects
Spring Poster
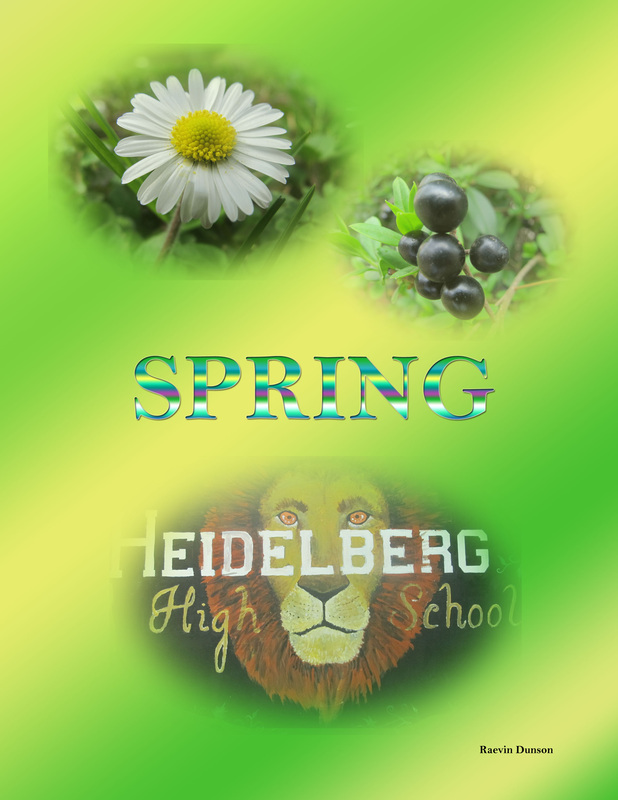
I used Photoshop CS4 to make this Spring poster. First, I made a new document. Then, I used the gradient tool to add the green and yellow background. I used the vignette tool and the elliptical marquee tool to cut the edges off of the picture to make them rounded. I moved all three pictures onto the gradient background. Then I decreased their opacity to blend them into the background. I added the "SPRING" lettering and made it gradient, gave it a glow, and shadowed it. Then my poster was complete.
Depth of Field
f/2.8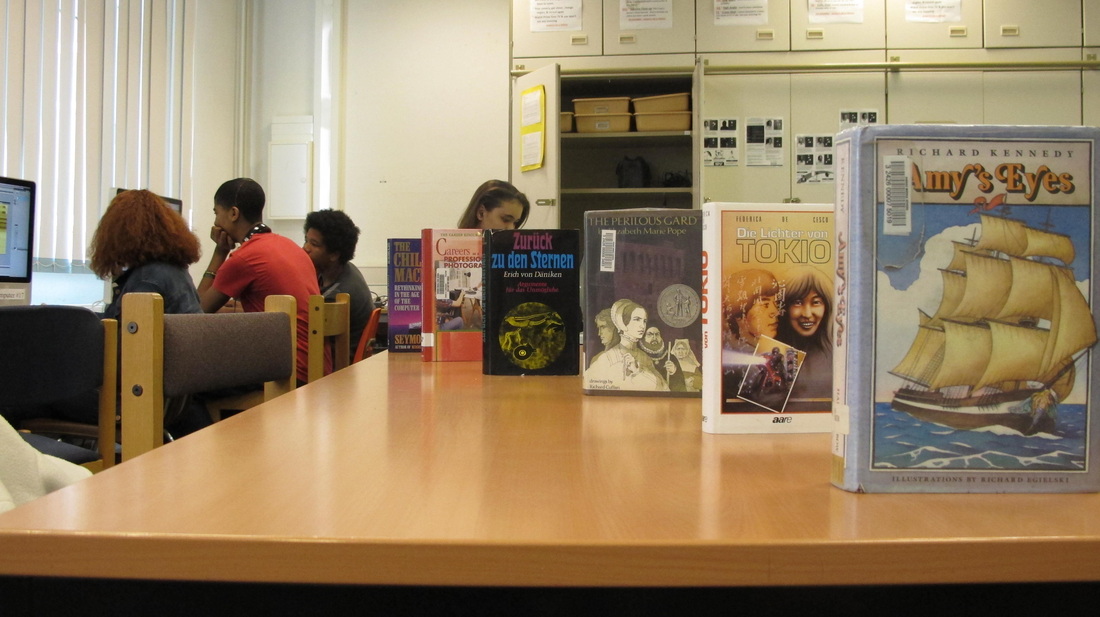
|
f/3.5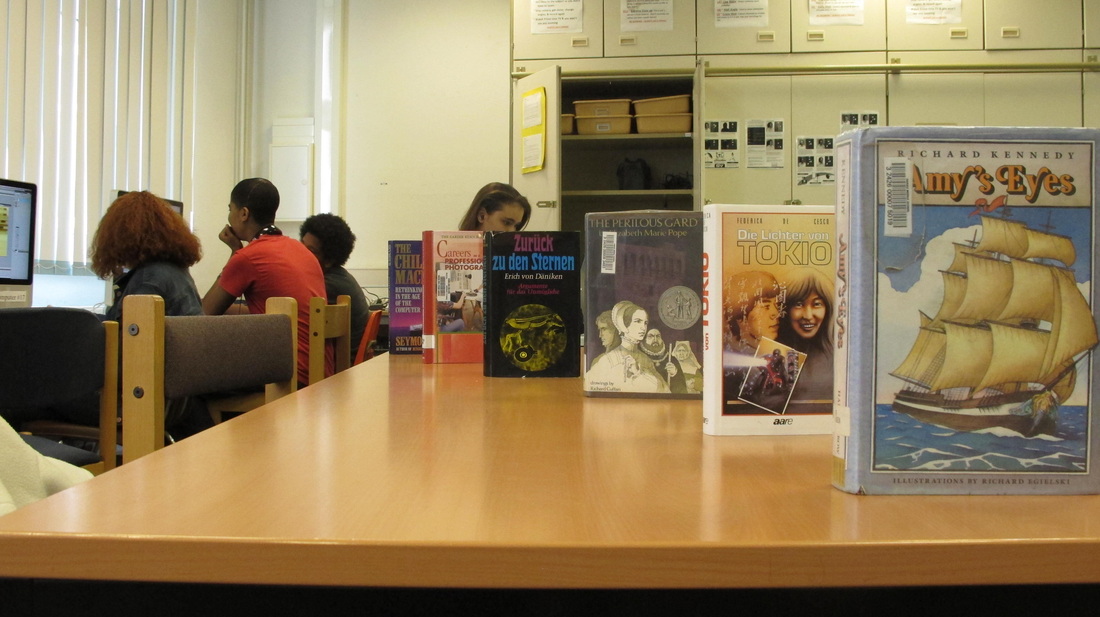
|
f/5.0
|
f/5.6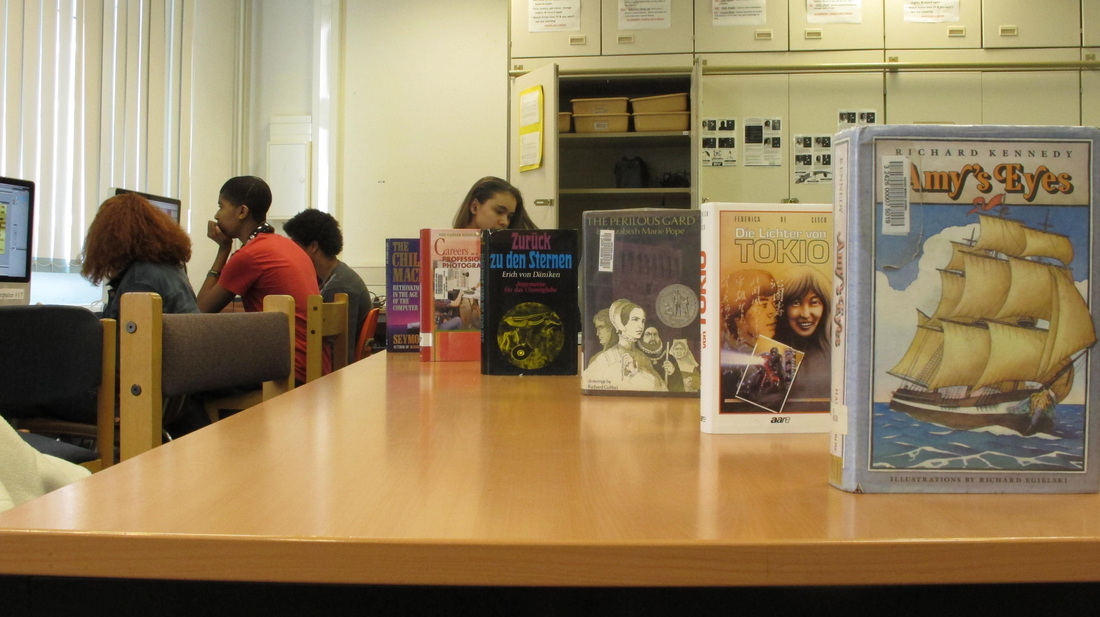
|
f/6.3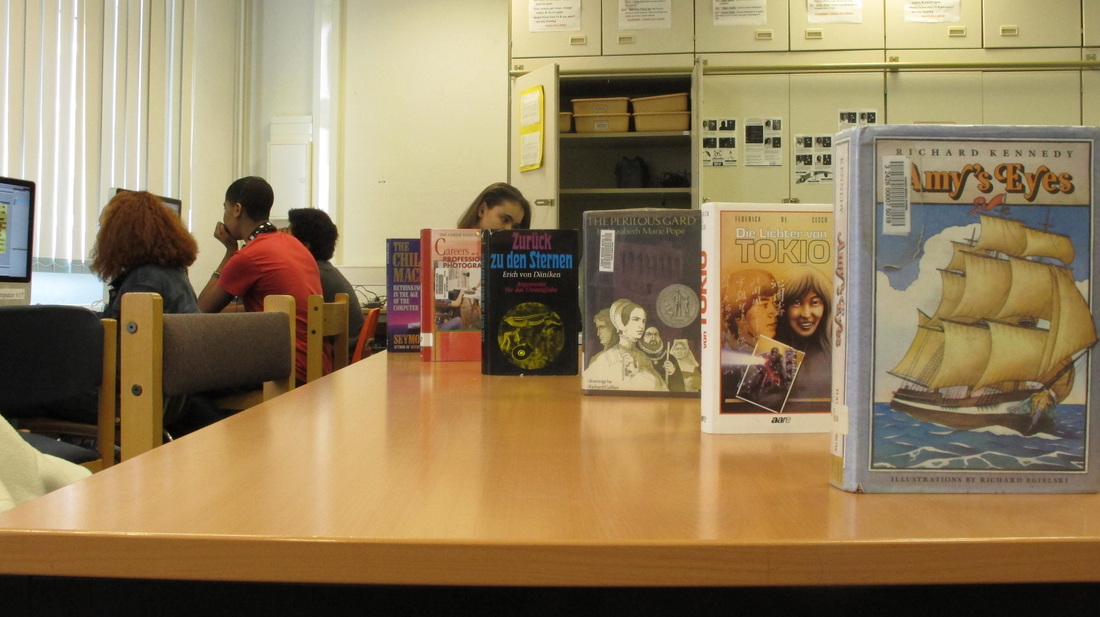
|
f/8.0
|
F-stop effects photographs by changing is lighting along with making minor changes in the amount of focus of the picture. It causes the picture to slightly change in its quality and helps its lighting to accomodate each picture. Also, it causes the focus of the camera to change and causes an increase or decrease in the picture's depth of field. F-stop helps to change the amount of blur on the background and determines how much the picture centers on the subject by blurring the background.The f-stop allows pictures to change the amount of light entering the picture to change the focus and quality of the picture, along with making it more complex and unique by putting different depths of field.
Motion Photos
Clear Picture (1/500 second Shutter Speed)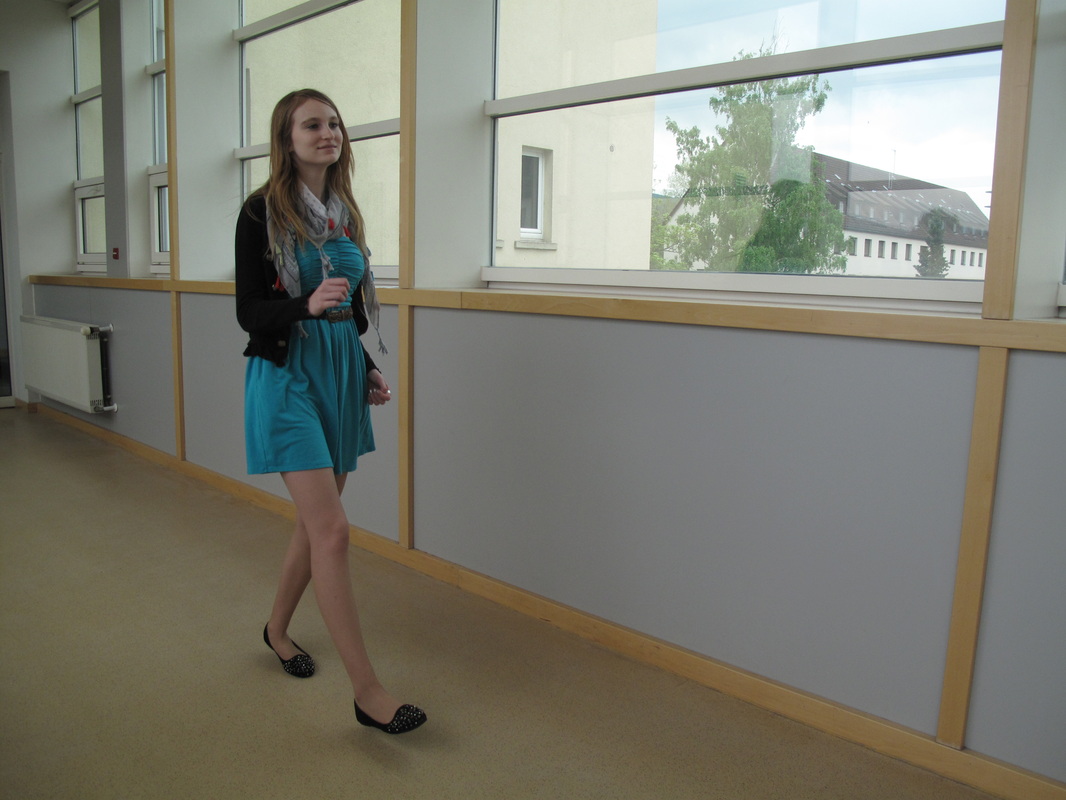
|
Blurred Picture (1/8 second Shutter Speed)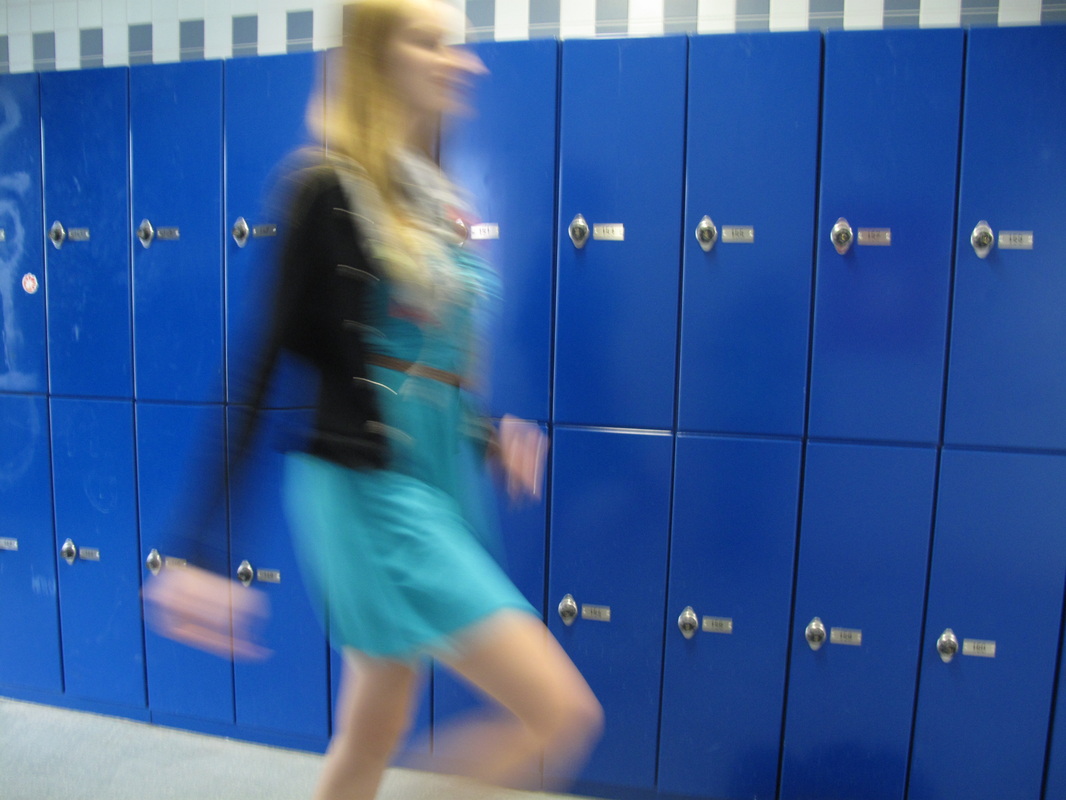
|
I changed the camera setting to TV. Then I was able to change the shutter speed. For the first picture, I changed the shutter speed to 1/500 of a second. The picture came out as clear motion. For the second picture, I changed the shutter speed to 1/8 of a second and the moving person became blurred while the background stayed clear. This produced the two motion pictures above.
Photomerge
Original Photos
|
|
|
|

|
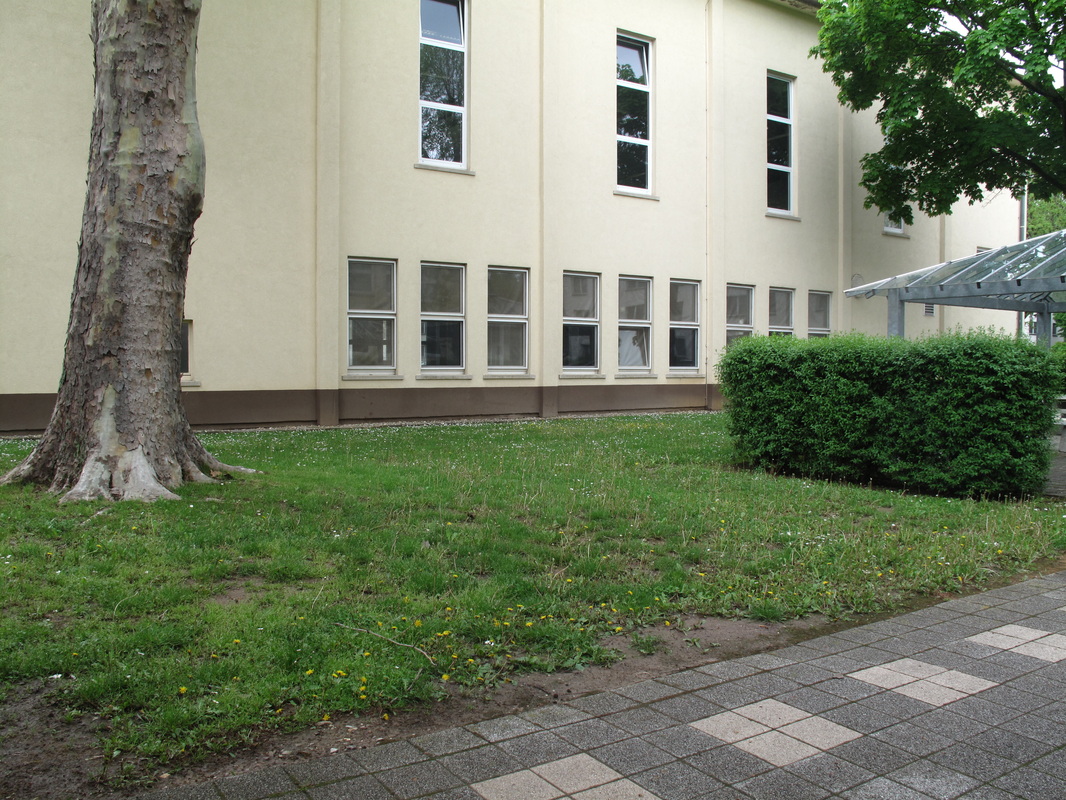
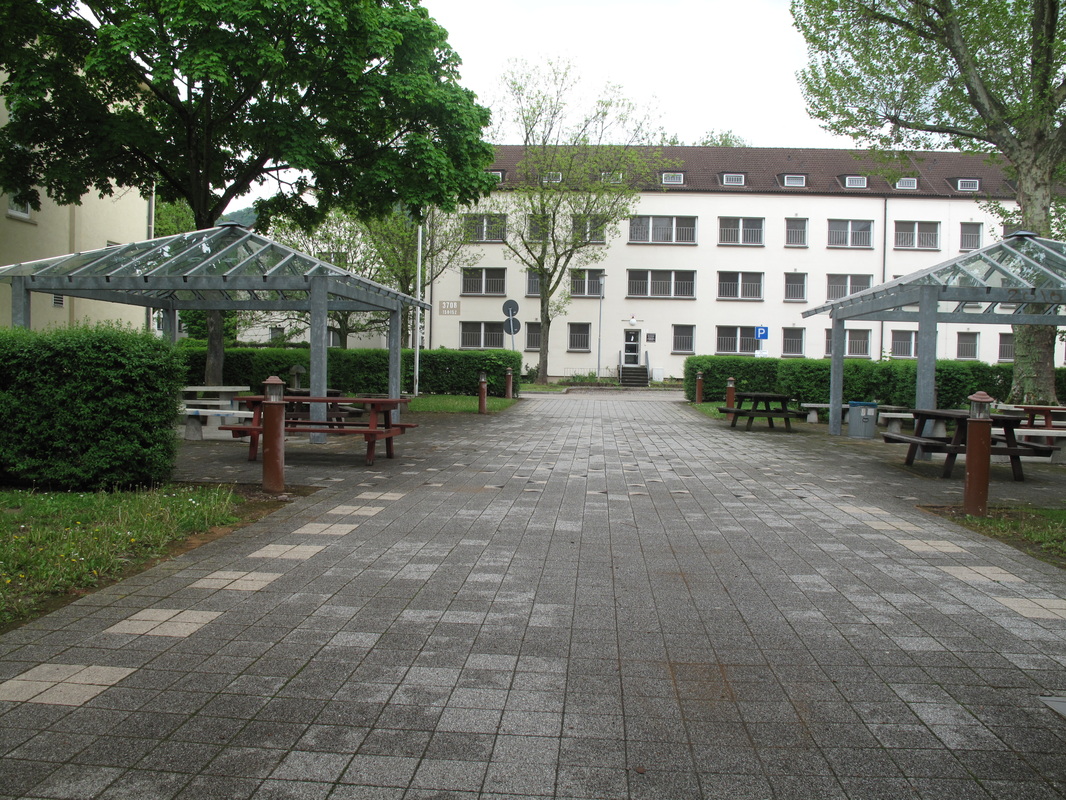
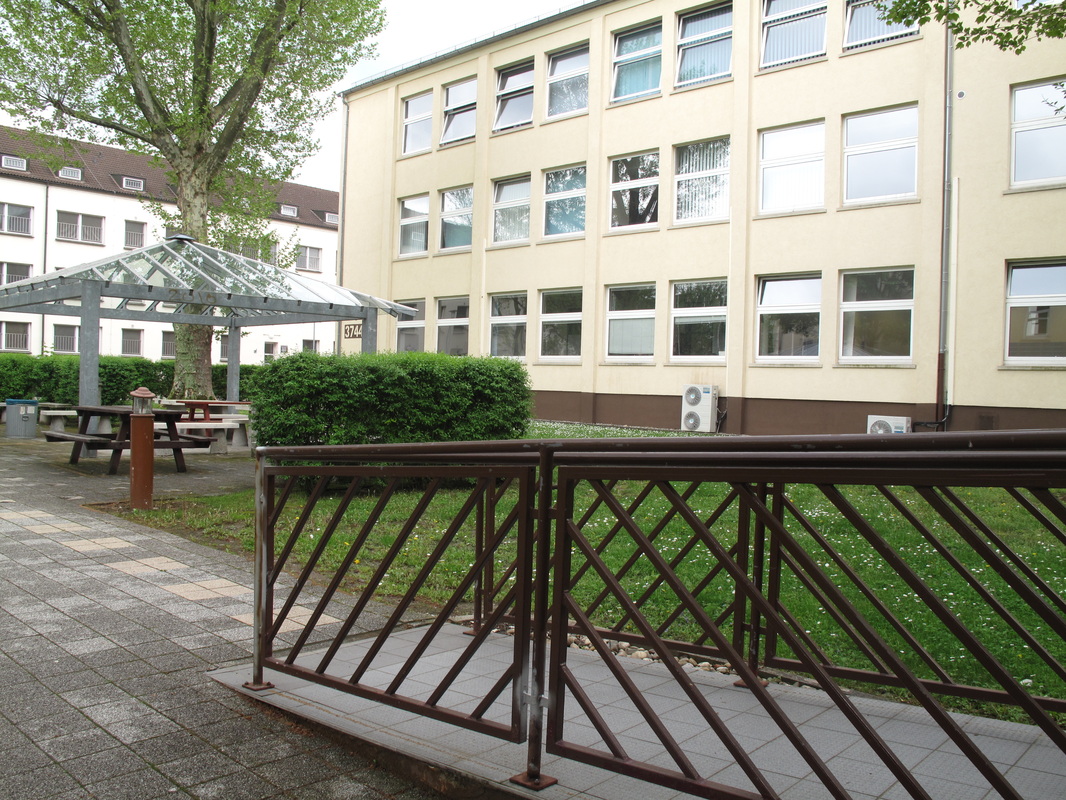
Photomerged Photo (Panorama)

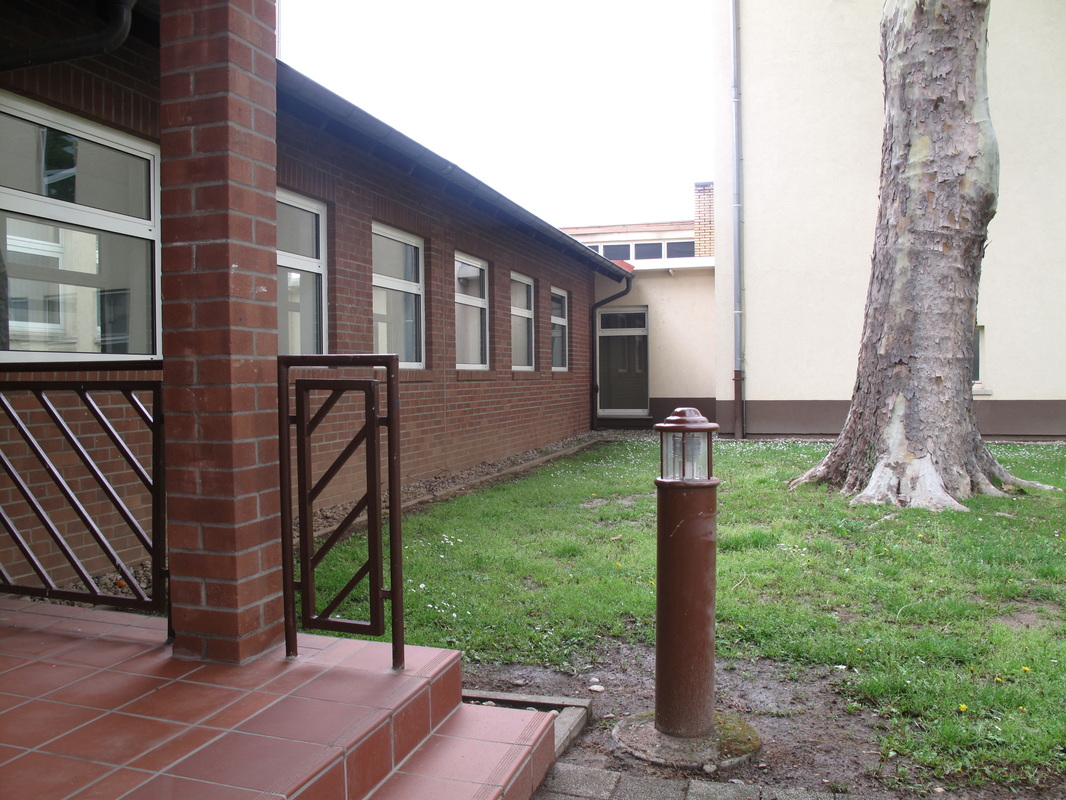
First, I went outside and took my five photos. With each photo that I took, I left a little bit of overlap as I moved the camera on the tripod. Then, I used Adobe Bridge and put all five pictures on the menu. I selected photomerge and Adobe Photoshop merged the photos together to create the final picture.
High Speed Photography
Original Photos
|
|
Tweaked Photo
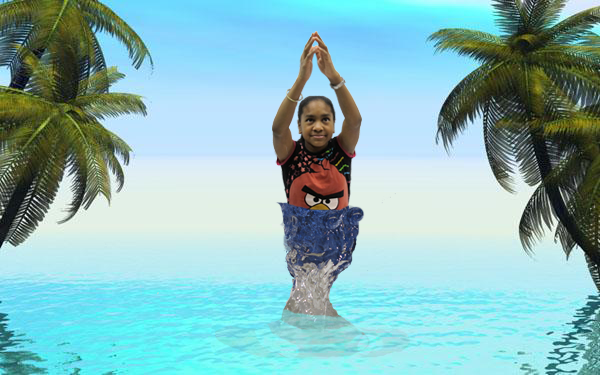
http://www.sharecg.com/v/18927 (background picture)
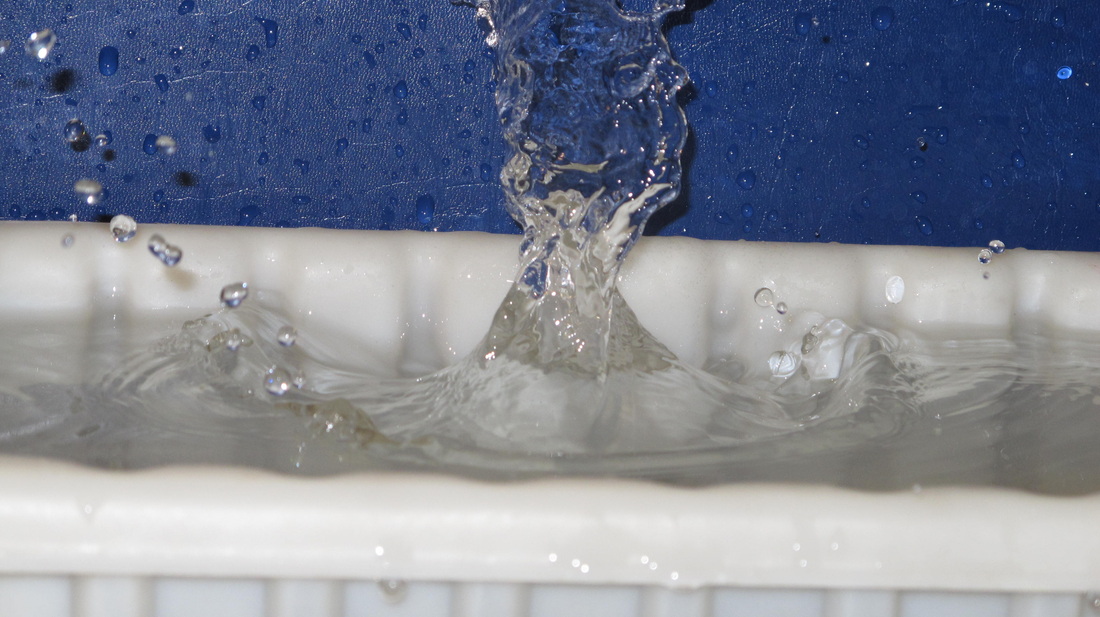
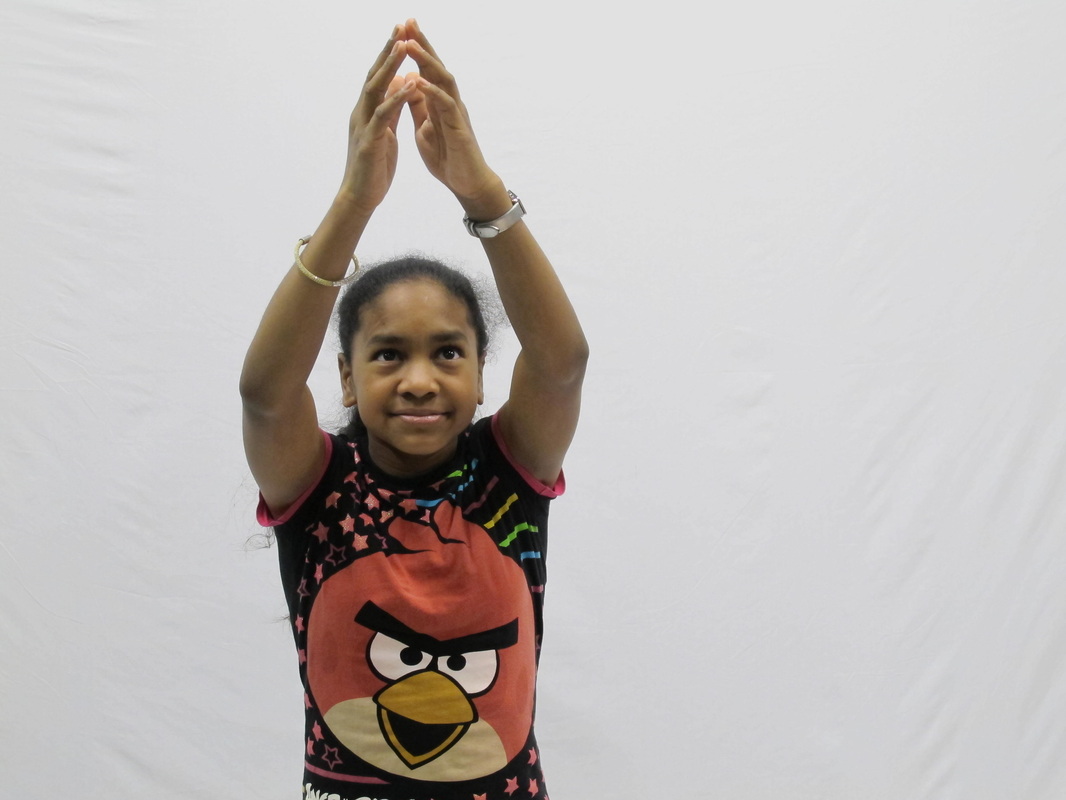
I took the photo of the water splashing using the shutter speed setting of about 1/4000 seconds. Then, I isolated the splash itself out of the original picture and placed it in the background using the eraser tool. I placed the splash in the background . Then I used the eraser to isolate the picture of myself and placed the picture in the background. I used the clone stamp tool to blend the splash in with the water in the background and moved the splash to the third layer, making the picture above.
I took the photo of the water splashing using the shutter speed setting of about 1/4000 seconds. Then, I isolated the splash itself out of the original picture and placed it in the background using the eraser tool. I placed the splash in the background . Then I used the eraser to isolate the picture of myself and placed the picture in the background. I used the clone stamp tool to blend the splash in with the water in the background and moved the splash to the third layer, making the picture above.
Deadzone Blur
Original Photo
|
Tweaked Photo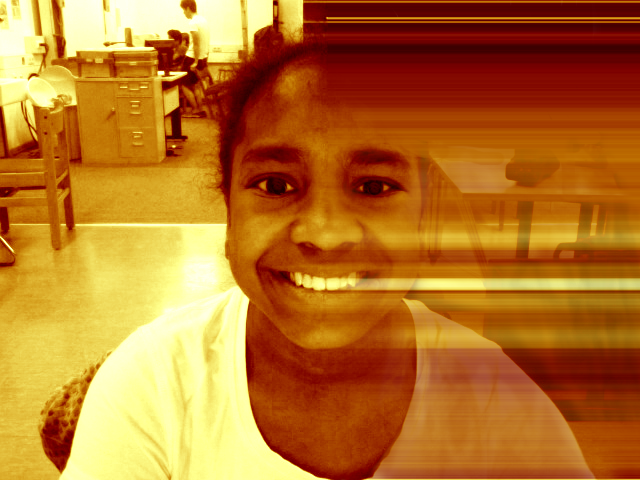
|
First I duplicated the original photo. Then I made the duplicated photo yellow-ish with the color balance tool. I used the single column marquee tool and made another layer out of that. Then, I used free transform and stretched the layer to make half of picture filled with streaks. I used the gaussian blur and then made a layer mask. I used the brush tool to fade the streaks away to reveal my face, my shirt, and part of the background.
Polaroid
Original Photo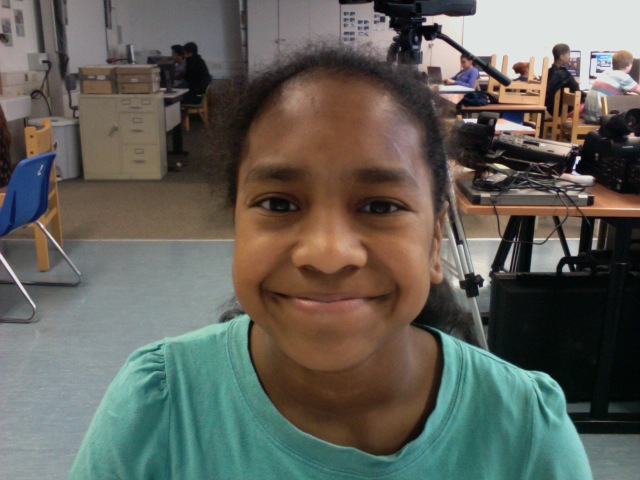
|
Tweaked Photo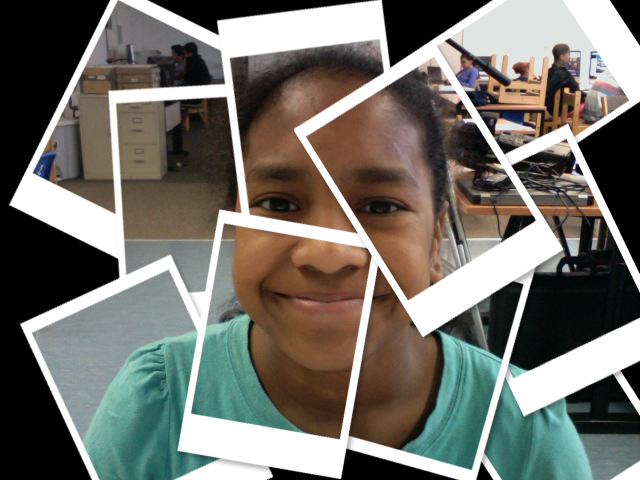
|
I copied the original photo and added a blank layer using the new layer tool. I made the entire blank layer black and made another layer using the new layer tool. Then I used the rectangular marquee tool, selected an area for a polaroid, and made it black. I made a clipping mask and added another layer with the new layer tool. I made a selection around the first selection using the rectangular marquee tool and made it white, so it appears as the border of the polaroid. I put a drop shadow from the layer styles tool and grouped all of the polaroid layers. I copied the group over and over again, using the free transform tool to move and adjust each of the different polaroids.
Color Grid
Original Photo
|
Tweaked Photo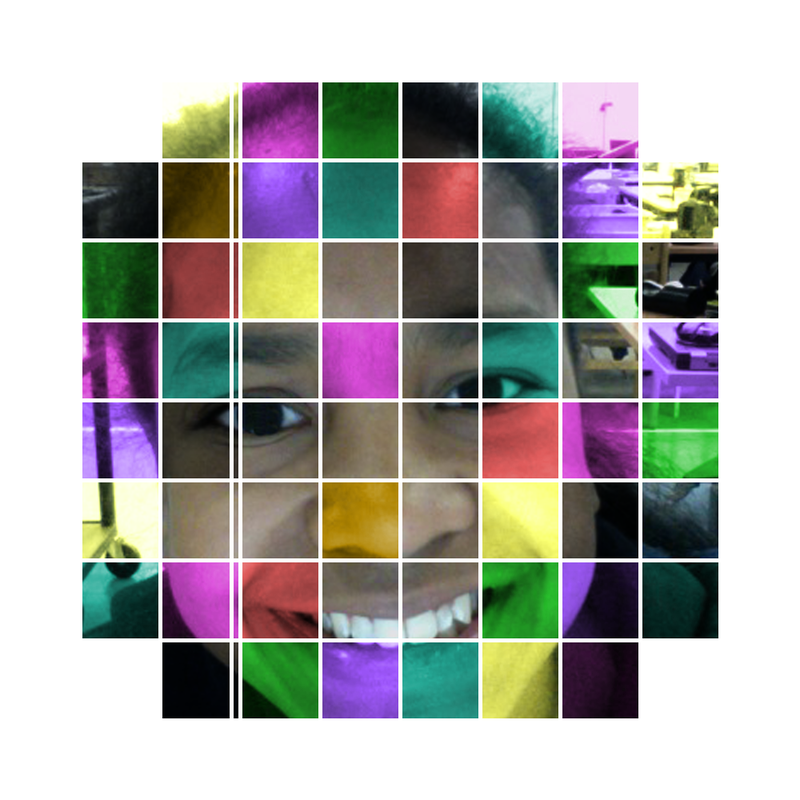
|
First, I made made a new Photoshop Document and made horizontal and vertical guides. I made a new layer and used the single row and column marquee tools to make a selection. I used the fill tool to fill the rows and columns with black. Then I put my photo into the document and used the free transform tool to resize it. I selected a border of squares using the magic wand tool and filled them with white. I randomly selected more squares and colorized them using the hue/saturation tool and changed the blend modes of the colors. Then I filled the grid lines with white and gave the picture a white stroke layer.
